This winter, we got a sprouting kit put together for us by Red's mom Kayla! We both realized we missed salads and fresh greens SO badly, and storebought lettuce was remarkably disappointing after the awesome lettuce and greens we grew ourselves last summer. Kayla has been sprouting for a long time, and helped us to get started with an awesome kit she assembled for us for Christmas. Sprouts are delicious, crazy easy to grow, and amazingly nutritious. It's a great way to get home grown nutrition in the winter! Here is how we grow ours, but be sure to check out
sproutpeople.org for everything you could possibly need to know about sprouting! (They also carry seeds, sprouting equipment, all sorts of good stuff!)
All we use to grow our sprouts are wide mouth quart sized mason jars with a small circle of non-metal window screen and the screw band that goes with the jar. Other than seeds to sprout, that is all you need! We have a great seed mix from sproutpeople.org that we LOVE that includes clover, arugula, cress, fenugreek and dill seeds. It is the perfect mix, and tastes amazing on sandwiches, in burritos, and even by itself with a little dressing! We tried sprouting mung beans, but didn't like the flavor, so now we stick to this seed mix. To grow a quart of sprouts, it only takes about two tablespoons of these seeds, so it's a great value by volume!
Step 1- Soak em!
First off, measure out your seeds according to the variety (different seeds will grow different amounts, so check on sproutpeople.org for how much to use so you get a good amount of sprouts but don't end up with an overstuffed jar). Put the seeds in the jar, put the screen over the top and screw on the band. Fill up the jar (through the screen) with cool water and let the seeds soak 8-12 hours (or however long is needed for the variety you are using, again, see sproutpeople for individual seed instructions).
Our favorite seed mix has some pretty small seeds, so we use two layers of screen until they begin sprouting and become big enough not to fall through the screen.
Step 2- Rinse, Repeat!
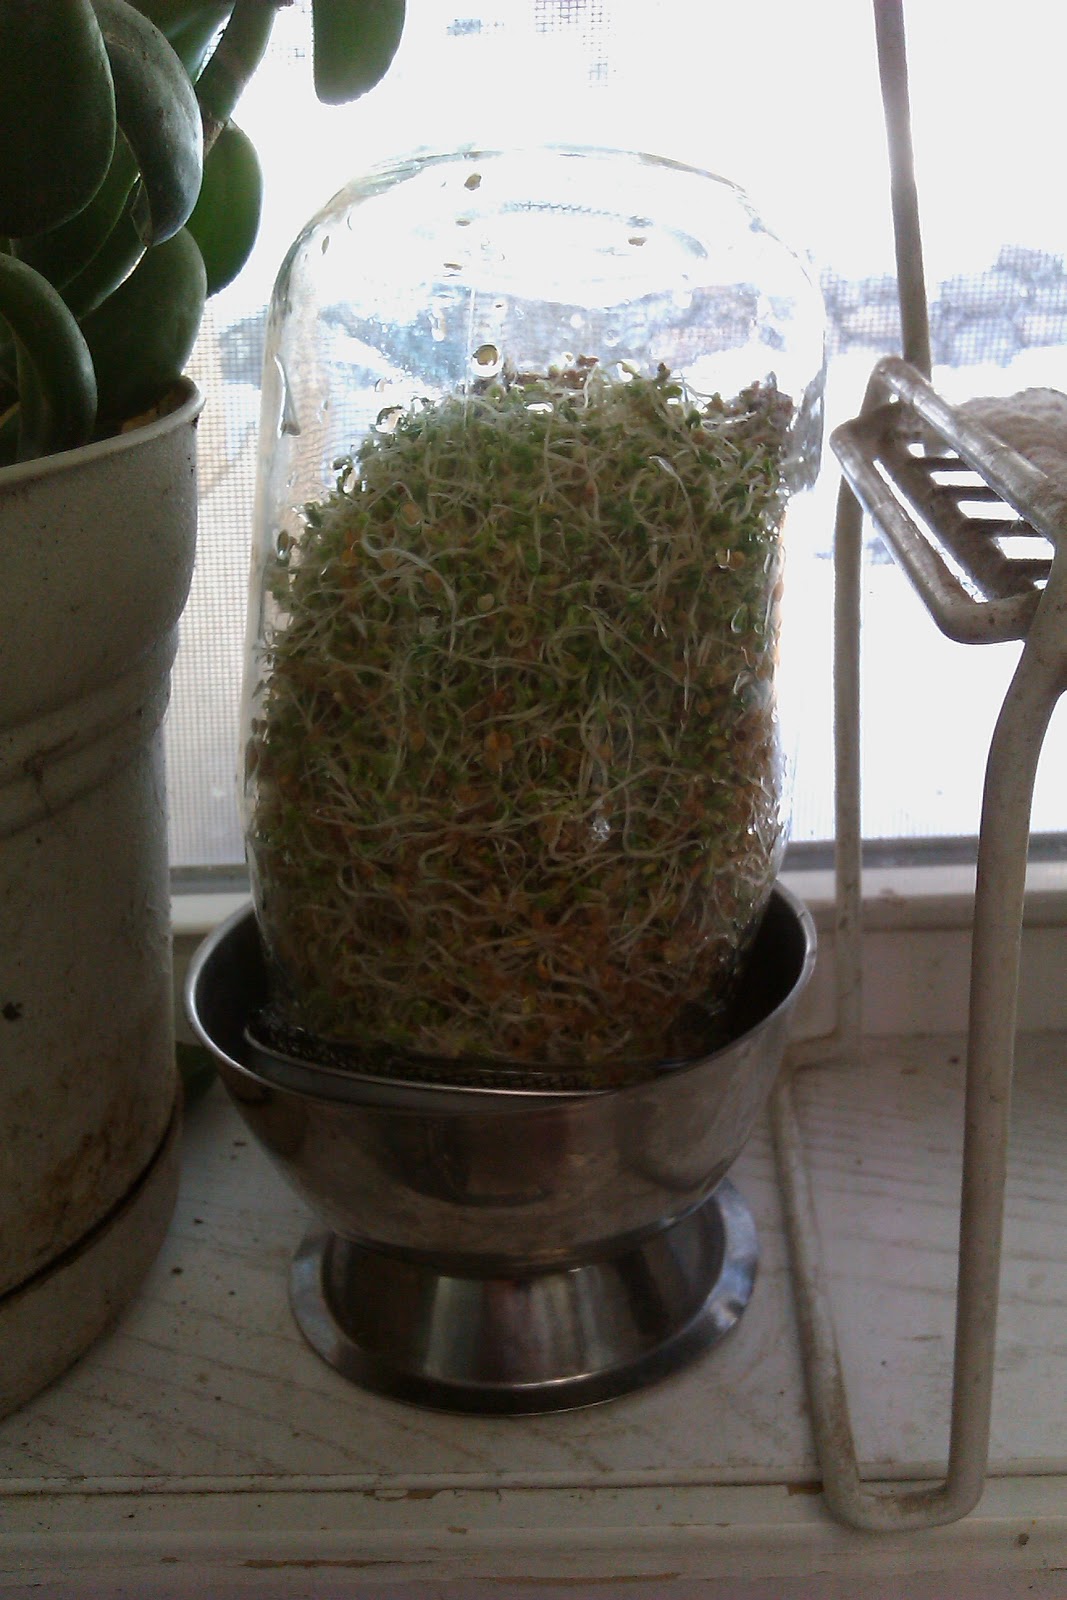
After your initial soak, drain the water out, fill with cool water, and swirl it around to make sure every little seed gets wet, then drain it off again, getting as much water out as you can. Then tip the jar upside down and set it at an angle in a bowl, which will allow any leftover water to drain out without leaving the seeds too wet, and allow good airflow. We keep ours on our kitchen windowsill, so we don't forget about rinsing them! It doesn't get any direct sunlight this time of year so it's ok for us, but don't put your jars in direct sunlight. I do recommend keeping them in or near the kitchen, so you'll be less apt to forget about them!
Rinsing; The first signs of growth, day 2
Repeat the rinsing and draining every 8-12 hours or so. Doesn't have to be spot on timing wise, but you don't want the sprouts to dry out completely. Since we keep ours by the sink, we usually rinse them in the morning while coffee is brewing, and again around dinnertime. You will start to see the first signs of growth about 36 hours after you first put them up to soak (or sooner or later depending on the variety of seed). At first the sprouts will be short, spindly and white, but once they get started, they really take off! You'll notice the hulls of the seed start to fall off once the leaves start to form, around day 4-5.
Here are our sprouts at about day 5. Notice the brown hulls of the seeds- they fall off on their own, but are still edible. We don't bother with separating them out, though most end up in the bottom of the jar anyways.
We keep two jars going at different intervals to keep a steady supply of sprouts growing.
These jars are at day 5 and day 2, respectively.
Step 3- Enjoy!
We've started eating our sprouts as early as day 4, but they are best when they've had a chance to get bigger and greener, around day 6 or 7. We store our sprouts in the jars on the sill just like when they're growing, since they usually get eaten quite quickly. But if you'd like to store your sprouts for longer, they will need one final rinse, then a thorough drying out (try a salad spinner or laying them out on a paper towel), and will need to be stored in an airtight container in the fridge (you could store them in the jar they were grown in, just replace the screen with the regular lid). We've never gotten to that point, since we eat them too quickly! They are amazing on sandwiches or in burritos or fajitas, and we've even eaten them by themselves in a bowl with a little dressing, like a micro-salad! Wyatt even loves them, and stuffs them into his mouth by the handful! They're so tasty, it's a wonder it took us this long to do our own sprouts! Yum!